最近在上数据挖掘的课程,学习到了很多分类方法、回归方法、频繁集查找等等。机器学习 公选课的时候使用BP神经网络识别了同济选课网的验证码。
当然啦本文说的js是nodejs而不是跑在浏览器的js
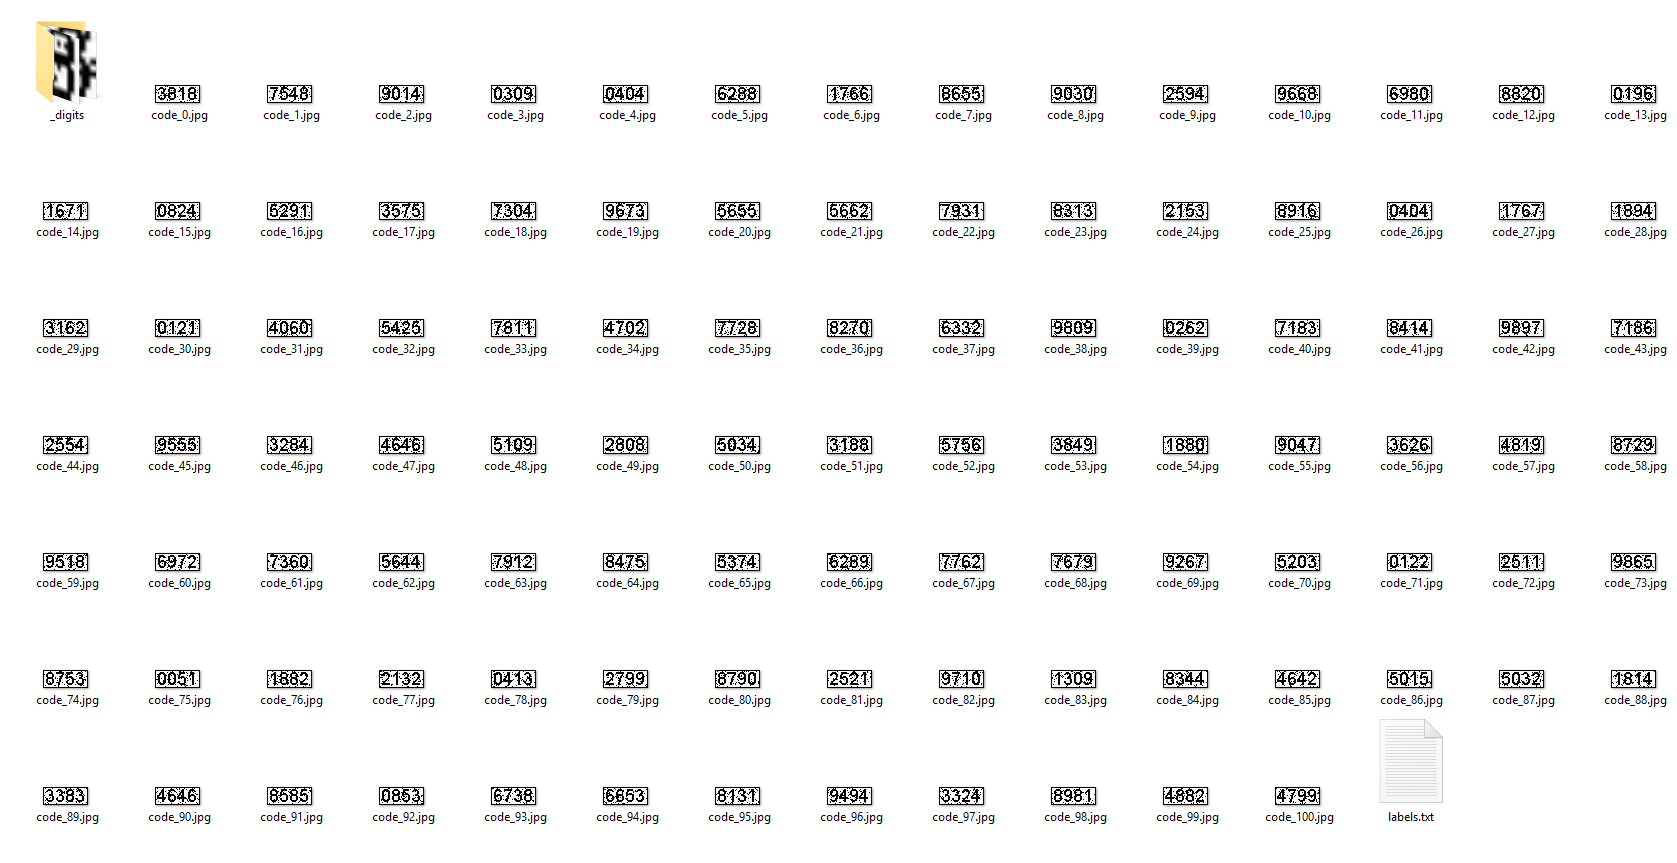
抓取验证码图片 这一步就是简单的发网络请求,将response写入文件,存成图片格式。
目标是xuanke.tongji.edu.cn/CheckImage
1
2
3
4
5
6
7
8
9
10
11
12
13
14
15
16
17
18
19
20
21
22
23
24
25
26
27
28
29
30
31
32
33
34
35
36
37
38
39
40
41
42
43
44
45
46
47
48
49
50
51
52
53
54
55
56
57
58
59
60
61
const http = require ('http' );const fs = require ("fs" );const sleep = require ('thread-sleep' );const counts = 100 ;function run (i ) const opts = { hostname: "xuanke.tongji.edu.cn" , path: "/CheckImage" , method: 'GET' , port: 80 , headers: { 'Accept' :'image/webp,image/*,*/*;q=0.8' , 'Accept-Encoding' :'gzip, deflate, sdch' , 'Accept-Language' :'en-US,en;q=0.8,zh-CN;q=0.6,zh;q=0.4' , 'Cache-Control' :'no-cache' , 'Connection' :'keep-alive' , 'Cookie' :'yunsuo_session_verify=5405136ec66b2fdd9866f9fb72b8804f; JSESSIONID=00003VcU3lwTPmM1OkYmTVQOHn8:-1' , 'DNT' :1 , 'Host' :'xuanke.tongji.edu.cn' , 'Pragma' :'no-cache' , 'Referer' :'http://xuanke.tongji.edu.cn/' , 'User-Agent' :'Mozilla/5.0 (Windows NT 10.0; WOW64) AppleWebKit/537.36 (KHTML, like Gecko) Chrome/57.0.2987.133 Safari/537.36' } }; var req = http.request(opts, function (_res ) let info = []; _res.on('data' , (chunk ) => { info.push(chunk); }); _res.on('end' , () => if (!info) return ; info = Buffer.concat(info); fs.writeFile(`./xuanke_code/code_${i} .jpg` , info, {flag: 'w' }, function (err ) if (err) { console .error(err); } else { console .log(`[INFO] Save File code_${i} .jpg` ); if (i < counts) { sleep(3000 ); run(i + 1 ); } } }); }); }); req.on('error' , (e ) => { console .log(`请求遇到问题: ${e.message} ` ); }); req.end(); } run(0 );
抓取的结果
读取图片并解码成扁平数组 由于这个验证码的图片是每一张含有4个数字,我们识别的时候要裁剪成单独的数字去训练和预测。
这里使用了依赖包Jimp 和jpeg-js .
首先使用Jimp读取图片
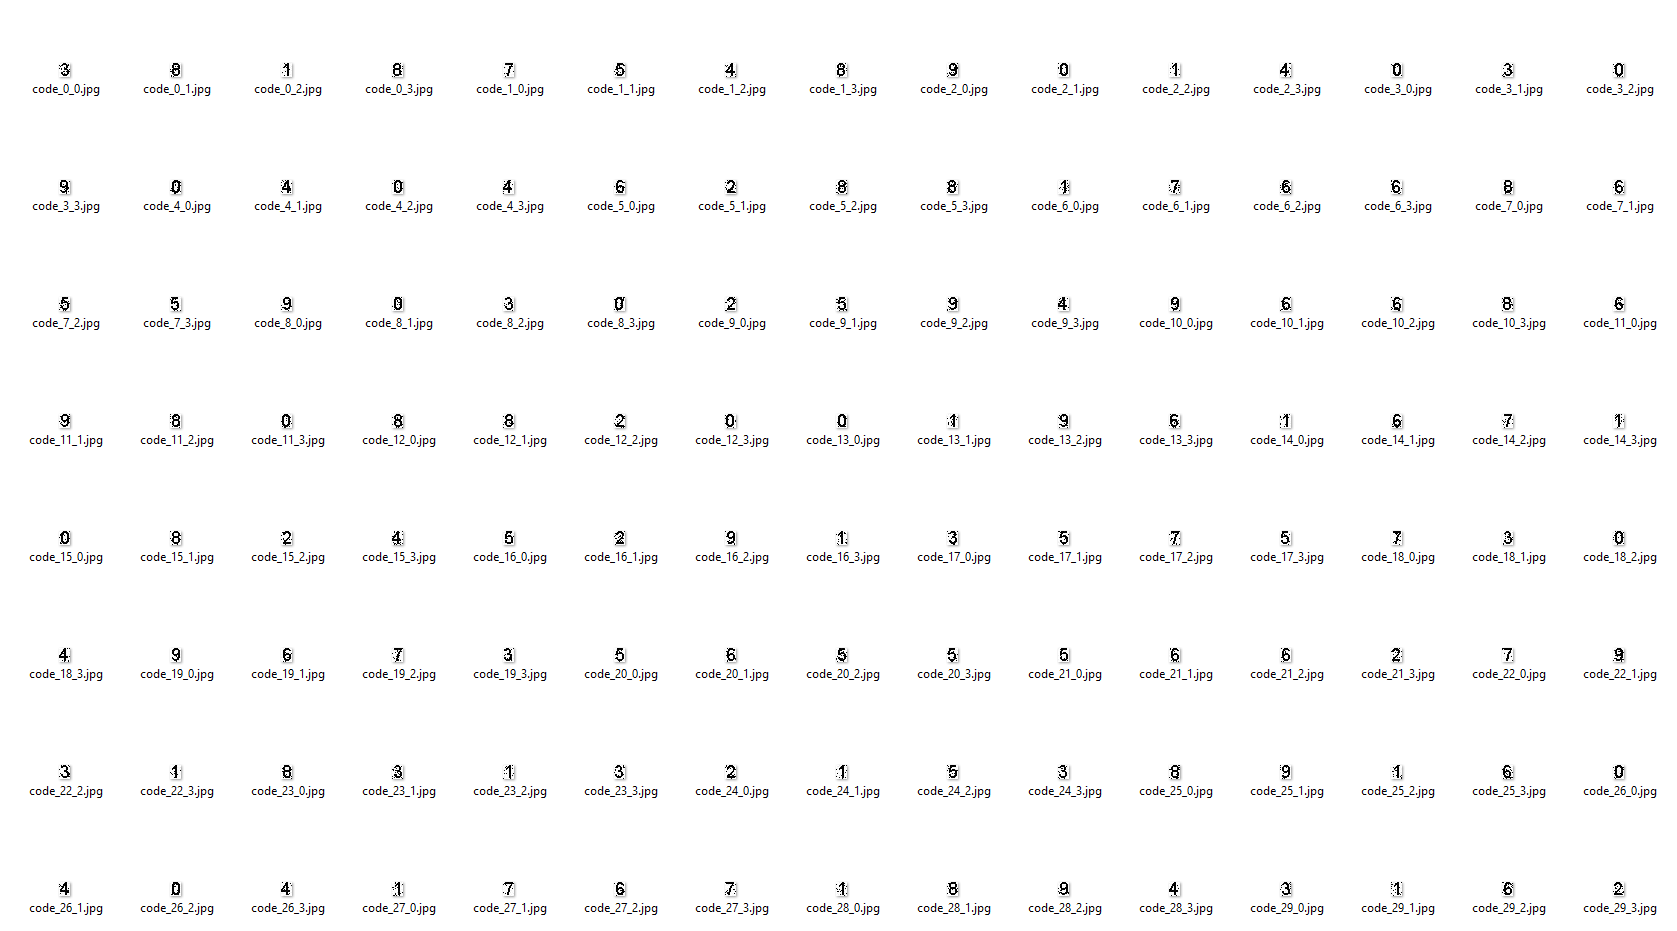
进行使用Jimp的crop接口裁剪成4张图片
通过Jimp的getBuffer接口获取裁剪之后的Buffer
用jpeg-js的decode接口解码之前裁剪之后的Buffer
将Buffer解析成像素矩阵,每一个像素是rgba的一个四维数组
将图像二值化,白色的地方成为0,黑色的地方成为1。由于验证码图像非常典型,直接识别r是否大于127来判断即可。
Nodejs是异步的,以上每一步操作都是一个异步操作,要批量读取图片的话就是回调地狱~~
于是使用了ES6的Promise
加载图片 1 2 3 4 5 6 7 8 9 10 11 12 13 14 15 16 17 18 19 20 21 22 23 24 25 26 27 28 29 30 31 32 33 34 35 function loadImages (length_labels ) return new Promise (function (resolve ) let files_typed_array = {}; let promises = []; let promises_image = []; for (let i = 0 ; i < length_labels; i++) { const img_path = `${image_folder_path} code_${i} .jpg` ; promises_image.push(Jimp.read(img_path)); } Promise .all(promises_image).then(function (images ) for (let index = 0 ;index < images.length; index++) { const img = images[index]; let _imgs = splitImageTo4Parts(img); promises.push(...decodeImageToTypedArray(_imgs, index, files_typed_array)); } Promise .all(promises).then(function ( console .log('Images Loaded.' ); resolve(files_typed_array); }); }).catch(function (err ) console .error(err); }); }); }
分割图片成4份 1 2 3 4 5 6 7 8 9 10 11 12 13 14 15 16 17 function splitImageTo4Parts (img) const single_digit_width = img.bitmap.width / 4.2 ; const single_digit_height = img.bitmap.height * 0.8 ; const single_digit_y = 2 ; let i0 = img.clone (); i0.crop(1 , single_digit_y, single_digit_width, single_digit_height); let i1 = img.clone (); i1.crop(single_digit_width, single_digit_y, single_digit_width, single_digit_height); let i2 = img.clone (); i2.crop(single_digit_width * 2 , single_digit_y, single_digit_width, single_digit_height); let i3 = img.clone (); i3.crop(single_digit_width * 3 , single_digit_y, single_digit_width, single_digit_height); return [i0, i1, i2, i3]; }
为了查看是否裁剪正确,调整裁剪的参数,使用Jimp的write接口写入文件查看裁剪结果
提取像素到矩阵 1 2 3 4 5 6 7 8 9 10 11 function extractPixel (typed_array ) if (typed_array.length % 4 !== 0 ) throw 'Pixel Not In RGBA Format' ; let pixels = []; for (let i = 0 ; i < typed_array.length; i = i + 4 ) { let pixel = [typed_array[i], typed_array[i + 1 ], typed_array[i + 2 ], typed_array[i + 3 ]]; pixels.push(pixel); } return pixels; }
图像二值化 1 2 3 4 5 6 7 8 9 10 11 function binarizeImage(pixels ) { for (let i = 0 ; i < pixels .length; i++) { if (pixels [i][1 ] > 127 ) pixels [i] = 1 ; else pixels [i] = 0 ; } return pixels ; }
将单个数字图片转换成扁平的二值化数组 将以上三步按顺序结合在一起
1 2 3 4 5 6 7 8 9 10 11 12 13 14 15 16 17 18 19 20 21 22 function decodeImageToTypedArray (images, index, files_typed_array ) let promises = []; for (let _img = 0 ; _img < images.length; _img++) { let _promise_get_array = new Promise (function (__resolve ) images[_img].getBuffer(Jimp.MIME_JPEG, function (err, buffer ) __resolve(buffer); }); }).then(function (buffer ) return new Promise (function (_resolve ) files_typed_array[`code_${index} _${_img} ` ] = binarizeImage(extractPixel(jpeg.decode(buffer, true ).data)); _resolve(); }); }); promises.push(_promise_get_array); } return promises; }
贴标签 要准确地训练神经网络,当然要告诉它哪个是正确的结果应该是怎样的,于是要手动给我们的验证码图片贴标签。
手动贴标签,写成JSON数组格式,再在代码里读取。
1 2 3 4 5 6 7 8 9 10 11 12 13 14 15 16 17 18 19 20 21 22 23 24 25 26 27 28 29 30 31 32 33 34 35 36 37 38 39 40 function main (let labels = fs.readFileSync(`${image_folder_path} labels.txt` ).toString(); try { labels = JSON .parse(labels); }catch (err){ console .error('labels file error' ); return null ; } } function parseDataSet (typed_arrays, labels ) return new Promise (function (resolve ) if (Object .keys(typed_arrays).length !== labels.length * 4 ) { console .error(`${Object .keys(typed_arrays).length} & ${labels.length * 4 } ` ); throw new Error ('Length Not Equal' ); } let train_feature = []; let train_label = []; for (let i = 0 ; i < labels.length; i++) { for (let j = 0 ; j < labels[i].length; j++) { let digits_array = typed_arrays[`code_${i} _${j} ` ]; train_feature.push(digits_array); let label_bool = [0 , 0 , 0 , 0 , 0 , 0 , 0 , 0 , 0 , 0 ]; label_bool[labels[i][j]] = 1 ; train_label.push(label_bool); } } console .log(`训练数据总共${labels.length * 4 } 个数字` ); resolve({train_feature, train_label}); }); }
训练神经网络 一开始想打算找教程原理手撕一下BP神经网络,后来还是因为数学太差而放弃。
ml-fnn
neural-node
neural_network
neuralnet
发现准确率好低好低啊,有的还特别慢(非常冷漠
最后终于找到了一个brain.js
虽然已经不再维护了,但是准确率100%呀,还能导出JSON格式的Model,或者导出静态的独立的function。(喜极而泣
虽然之前爬取了101张图片,也就是404个数字,但还是懒得把全部打上标签,只打了256个数字的标签,就用200个训练,56个测试
1 2 3 4 5 6 7 8 9 10 11 12 13 14 15 16 17 18 19 20 21 22 23 24 25 26 27 28 29 30 31 32 33 34 35 36 function trainNeuralNetwork (dataSet ) return new Promise(function (resolve ) let {train_feature, train_label} = dataSet; let brain = require ('brain' ); let net = new brain.NeuralNetwork(); let inputSet = []; for (let i = 0 ; i < 200 ; i++) { inputSet.push({ input : train_feature[i], output : train_label[i] }); } net.train(inputSet); let digits_correct = 0 , digits_all = 0 ; for (let i = 200 ; i < train_label.length; i++) { let output = net.run(train_feature[i]); let predict_index = output.indexOf(Math .max(...output)); let label_index = train_label[i].indexOf(1 ); digits_all++; if (predict_index === label_index){ digits_correct++; } } console .log(`准确率:${digits_correct / digits_all * 100} %` ); resolve(net); }); }
将训练好的模型导出 brain.js可以导出JSON格式的model,但是读取还原的时候还需要引入brain依赖包,而导出function的话可以独立使用,不依赖包。
1 2 3 4 5 6 function storeNeuralNetworkModel (net ) let forecast = net.toFunction(); fs.writeFileSync(`./parseCAPTCHA.js` , forecast.toString()); }
使用 我将整个识别预测写成了一个module parseCAPTCHA
1
2
3
4
5
6
7
const forecast = require ('./parseCAPTCHA' );let image_path = './xuanke_code/code_92.jpg' ;forecast(image_path, function (r ) console .log(r); });
依赖 本小项目依赖的包主要有4个
集成训练结果的parseCAPTCHA.js文件不再依赖brain
代码已经放在Github上 CAPTCHA_Recognition_xuanke.tongji
神经网络真的好可怕啊